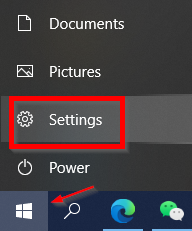
Skip to content
English
  • There are no suggestions because the search field is empty.

IPSec VPN Install & Configurations

Windows 11 & Mac OS applicable


Windows 11

  1. Go to Start menu, select “Settings”. 

2,  Select “Network & Internet”. 

3,  Select “VPN”. 


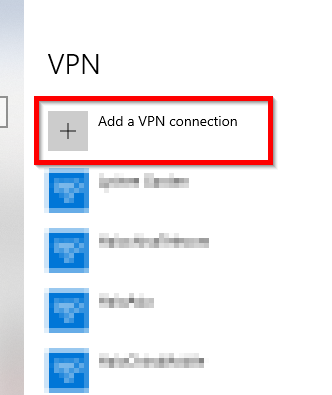
4,  “Add a VPN connection”. 

5,  There is one connections should be added:  HaloChinaTelecom 


Connection name: HaloChinaTelecom 

Server name of address: 116.6.52.130 

VPN type: Automatic

Type of sign-in info: User name and password 

User name: HSS\firstname.lastname 

Password: hss local domain account login password                                                                         


6,  Go to “More VPN options”.
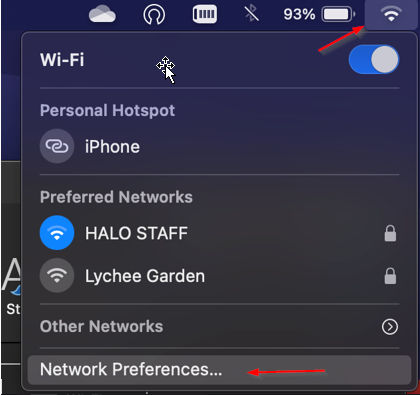
 

7,  Click “Security” tab, and select “Allow these protocols” and tick the “Challenge Handshake Authentication Protocol(CHAP)”, then hit “OK”. 


Mac OS 

  1. Go to “WIFI” icon and select “Network Preferences”.                     

2,  Add with “+” and select the item from the drop list, then hit “Create”. 

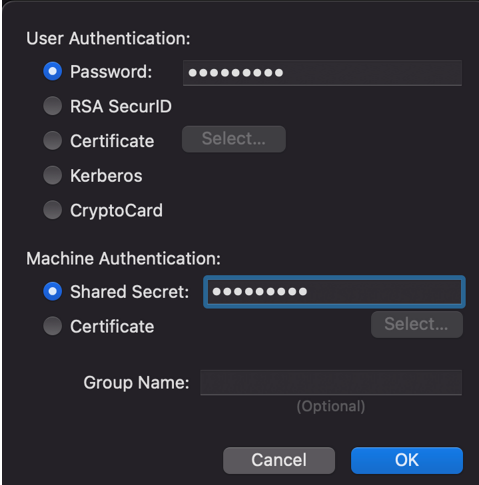
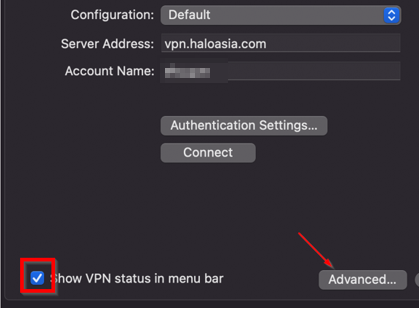
Interface: VPN 

VPN: L2TP over IPSec 

Service Name: HaloChinaTelecom       

3,  Input the Server Address and the Account Name. 

Server Address: 116.6.52.130

Account Name: Local Domain account login account, for example:  

  hss\firstname.lastname 

4,  Click “Authentication Settings” and input “Password” and “shared Secret”. 

Password: Window login password 

Shared Secret: Halo#hss2020

Then hit “ok”. 

5,  Tick “Show VPN status in menu bar”, then click “Advanced”. 

6,  Tick “Send all traffic over VPN connection” and click “ok”. 


7,  You can see the VPN icon on the top of bar. 

8, Done

END